Japan and your connection: start with the right destination
Japan's record in Bamwor's open World Countries dataset identifies the country with code JP and places it in East and Southeast Asia. These fields identify a destination; they do not describe mobile operators, eSIM pricing or network coverage. View the dataset and its CC BY 4.0 license.
Separate three decisions when preparing your connection: whether your phone supports the eSIM, whether the package covers Japan, and when its validity begins. An «Asia» label on a regional plan does not replace the package's country list. Check that Japan is actually included before paying.
Before buying: your phone and the package conditions
Check your phone's exact model and the market where it was sold. Apple explains the requirements and methods for setting up an eSIM on iPhone; Google documents using two SIMs on Pixel phones. A menu that resembles a screenshot does not confirm support on every Android device. If your phone is carrier-locked, verify that it can use another provider.
Open the eSIMStore plan catalog and check the conditions of the package you intend to choose:
- Destination: Japan must appear in its coverage list, particularly for a regional package.
- Data and duration: included data allowance and validity days. Choose for the activities you need; there is no universal amount for every trip.
- Validity start: installation, connection to a supported network, or purchase, depending on the package. Read its specific activation rule before installing.
- Services: check whether calls or SMS are included. Do not assume that a data eSIM provides a Japanese phone number.
- Network, top-ups and usage conditions: use the details of that particular package. Ask support if a necessary condition is missing.
Pricing and availability can change. This guide links to the current catalog instead of fixing a price that could become outdated.
Prepare installation while a connection is available
Save your order's instructions and have a Wi-Fi connection available to download the profile. Apple's iPhone instructions describe QR installation and manually entering the details supplied by the carrier. On Android, follow your model's instructions: menu names vary between manufacturers.
- Confirm your package's activation rule first. If validity starts on installation, installing too early can use days intended for your trip.
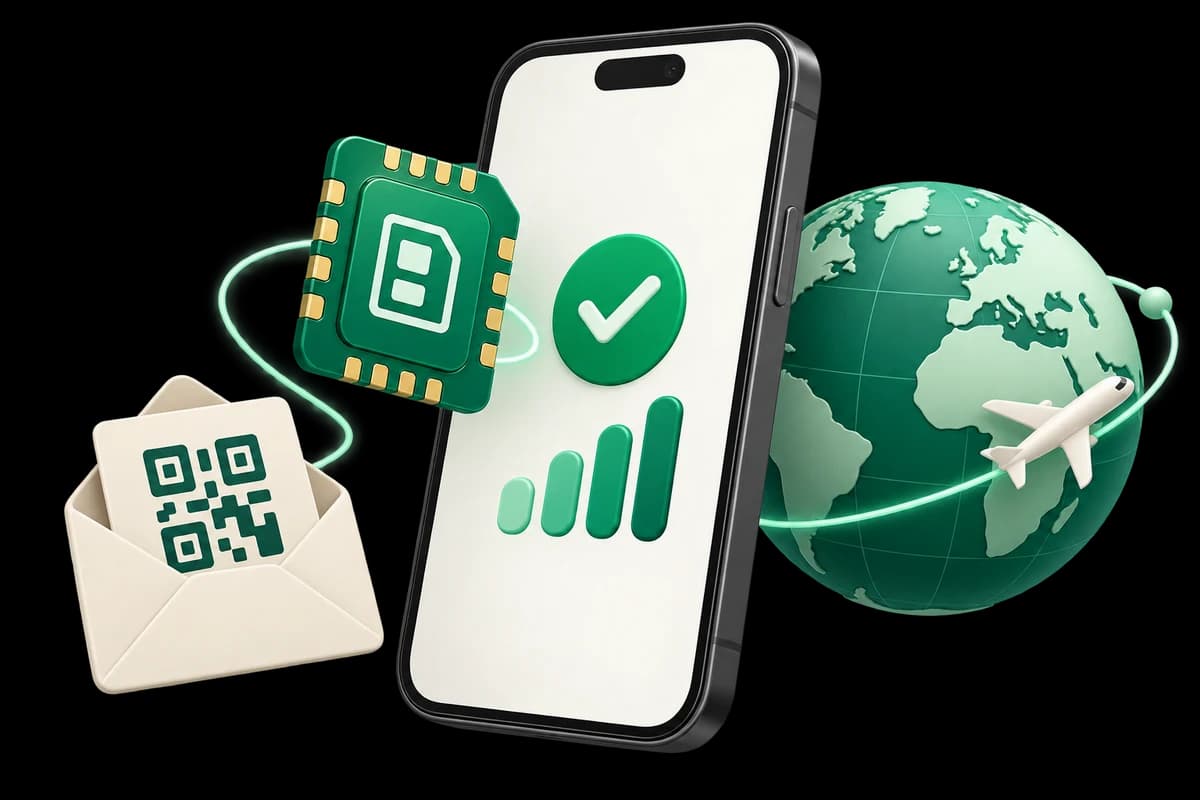
- Open the option to add an eSIM or mobile plan and use the QR code or installation details you received.
- Give the line an easy-to-recognize name, such as «Japan trip», so you can distinguish it from your usual SIM.
- Use the visual installation guide if you are working on the same phone where you opened the order email.
Installing the profile and connecting to the destination's network are different steps. Your order's conditions determine when to perform each one.
On arrival: choose the right data line
The eSIM Access troubleshooting documentation recommends checking which eSIM is selected for cellular data and enabling data roaming on that line. Apply those checks to the travel eSIM you identified, rather than to every line indiscriminately.
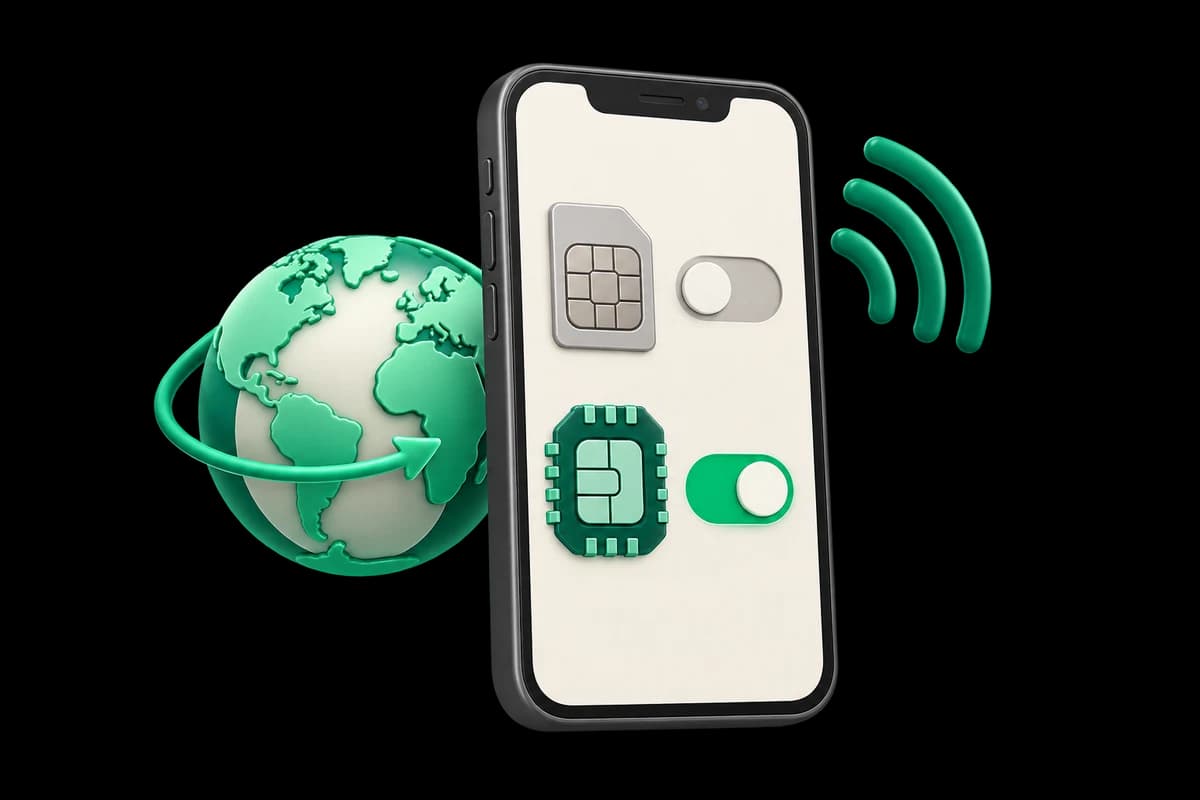
- Enable the travel eSIM and select it for cellular data.
- Check data roaming on that eSIM against your order's instructions.
- If you keep your usual line, choose which line handles calls and avoid automatic data switching if you do not want your phone to use the other line.
Keeping your primary SIM enabled does not make its calls, SMS or roaming free. Its conditions still depend on your home carrier.
Signal and internet access are separate checks
If you cannot browse, first confirm the selected data line and whether the package is still valid. Then check whether your phone shows a network signal. If the connection still fails, review the APN instructions supplied for your order and contact support before deleting the profile. Save error messages so you can describe the problem accurately.
A travel eSIM does not necessarily provide a Japanese IP address. eSIM Access explains that its packages commonly use home-routed roaming: the phone accesses a network in the visited country and the provider routes traffic through its home network. The outcome depends on the package and does not guarantee access to a particular app.
Your final pre-flight checklist
Confirm a compatible phone, Japan in the coverage list, and the package's validity start. Keep the instructions accessible and choose the line that will handle data. With these decisions made, you can follow your order's arrival steps without improvising the configuration.
Compare available plans, review the installation illustrations and answers, or email contact@esimstore.online if an important condition needs clarification.